At Home Spa Treatment


IMG_4390

IMG_4391

These days with school and the farm I find it hard to get my

“Me Time.”

With my limited free time, I am having to find ways to still be able to enjoy my spa treatments.

I will openly admit that I am a Pinterest Junky and I have to be very careful about the amount of time I spend scrolling through thousands upon thousands of health and beauty pins.

I once called Facebook the “Black Hole” for time management,

but now it is Pinterest for me. 😉

My only problem with Pinterest is that I “Pin” something and then I cannot remember where I “Pinned” it.

I am sure, I am Not Alone with this!

With that said, I have “pinned” many different “Spa Treatment” things all over the place, but where I could not tell you without going on a 2 or 3 hour search through all of my pins.

However, I did find something that I was able to remember the ingredients (3 things I have in my home at all times!)

And I was able to make it without having

to find the pin with great success!

Yay Me!

So let me get on with the

“How-To” of making an Amazing At Home Spa Treatment!

At Home Microdermabrasion!

Yes, I said that correctly Microdermabrasion!

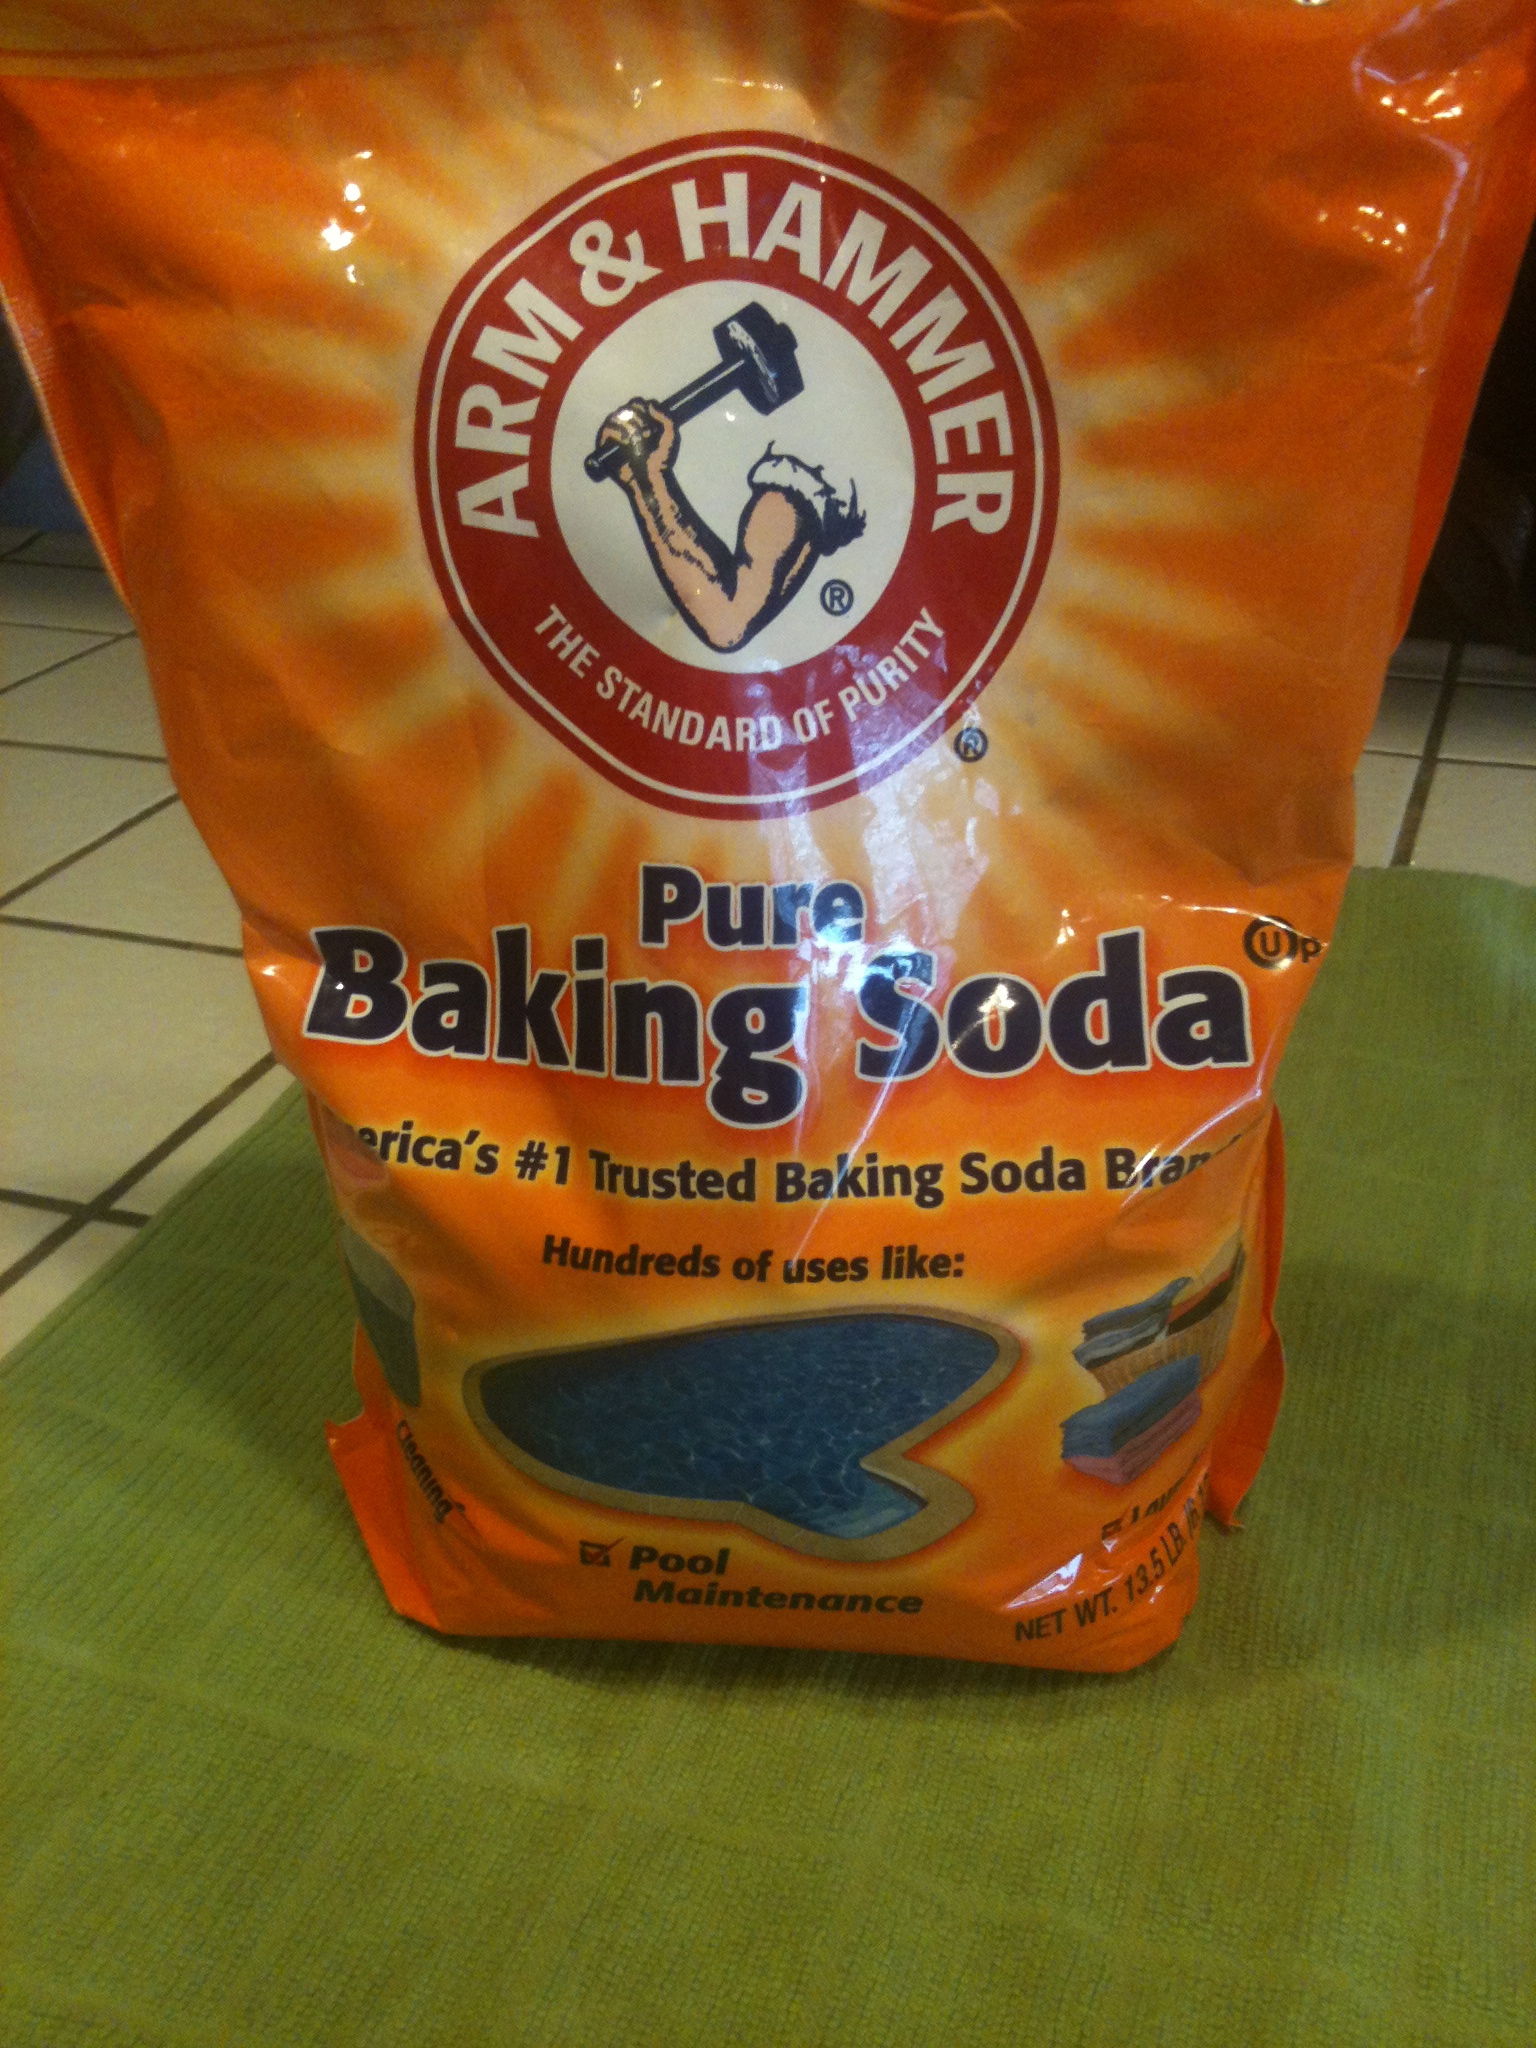
You will need virgin coconut oil, baking soda, and pure essential oils.

See Simple ingredients! 🙂

I only use Young Living Essential Oils as they are Safe,

Therapeutic Grade, Organic,

and simply The Best oils we can use in or on our bodies.

The recipe can be doubled, tripled, or multiplied many times.

It is a simple 2:2:2 ratio of coconut oil, baking soda, and essential oil.

If you do multiply the recipe always remember increase

the essential oils to ensure the correct ratio.

IMG_4388IMG_4386

IMG_4387

2 Tablespoons Virgin Coconut Oil

 IMG_4384

2 Tablespoons Baking Soda

IMG_4385

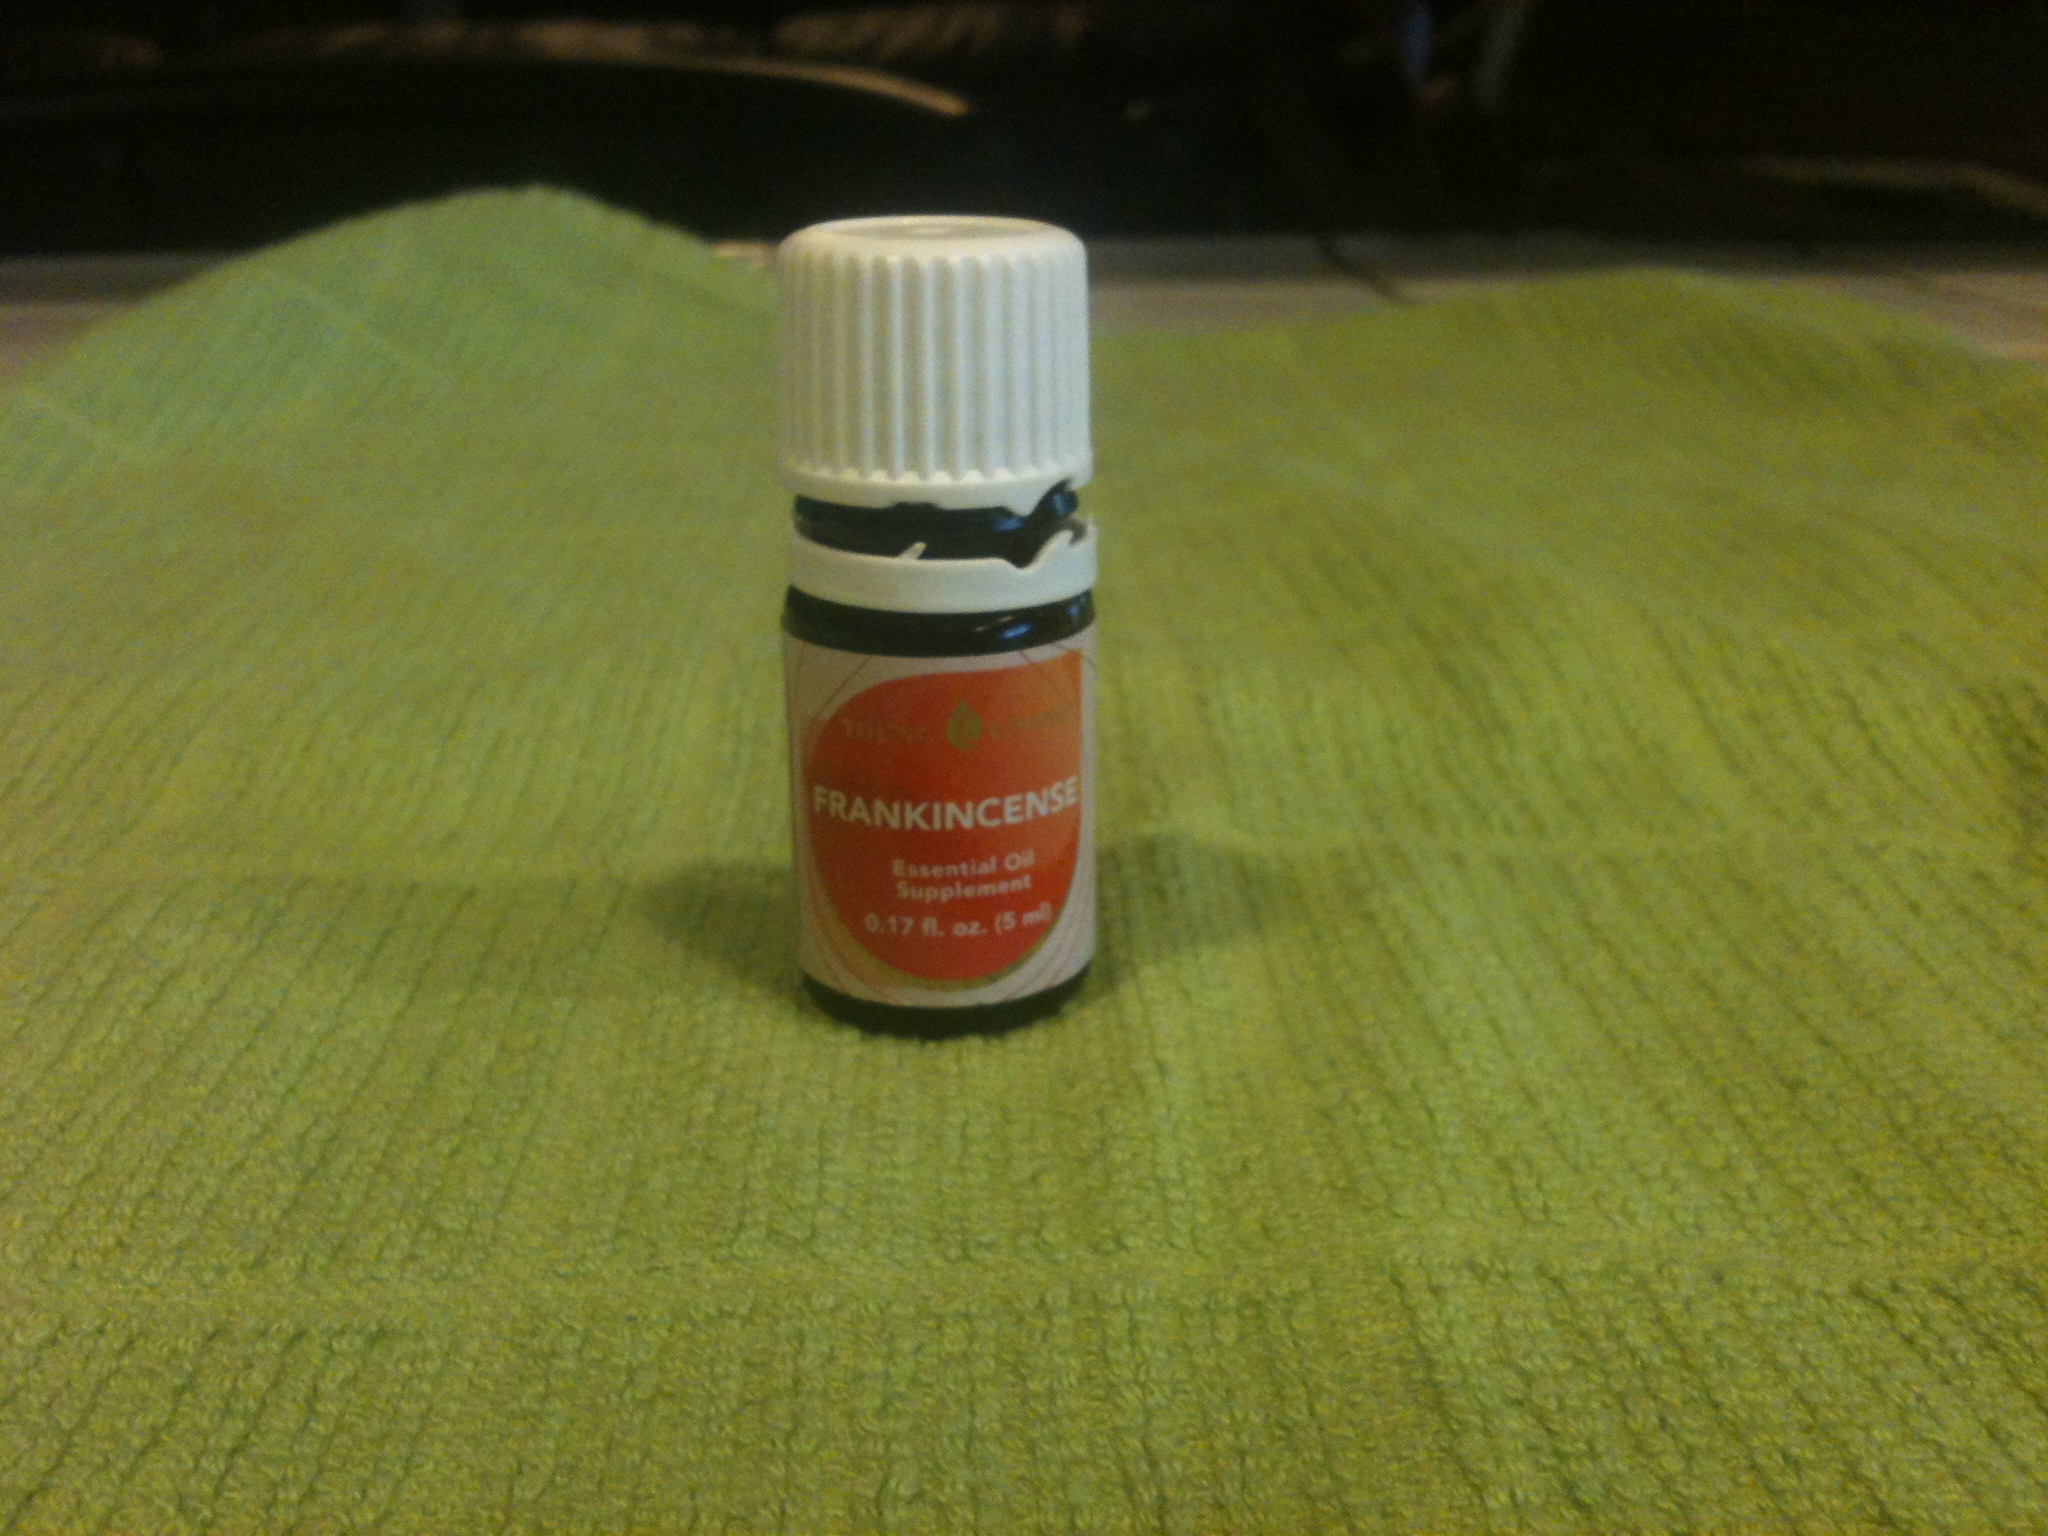
2 Drops Essential Oil

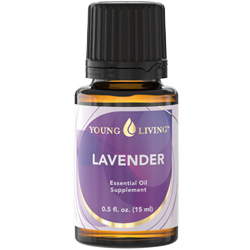
( I use Frankincense, but Lavender, Helichrysum,

and Geranium are also wonderful for our skin)

 IMG_4387

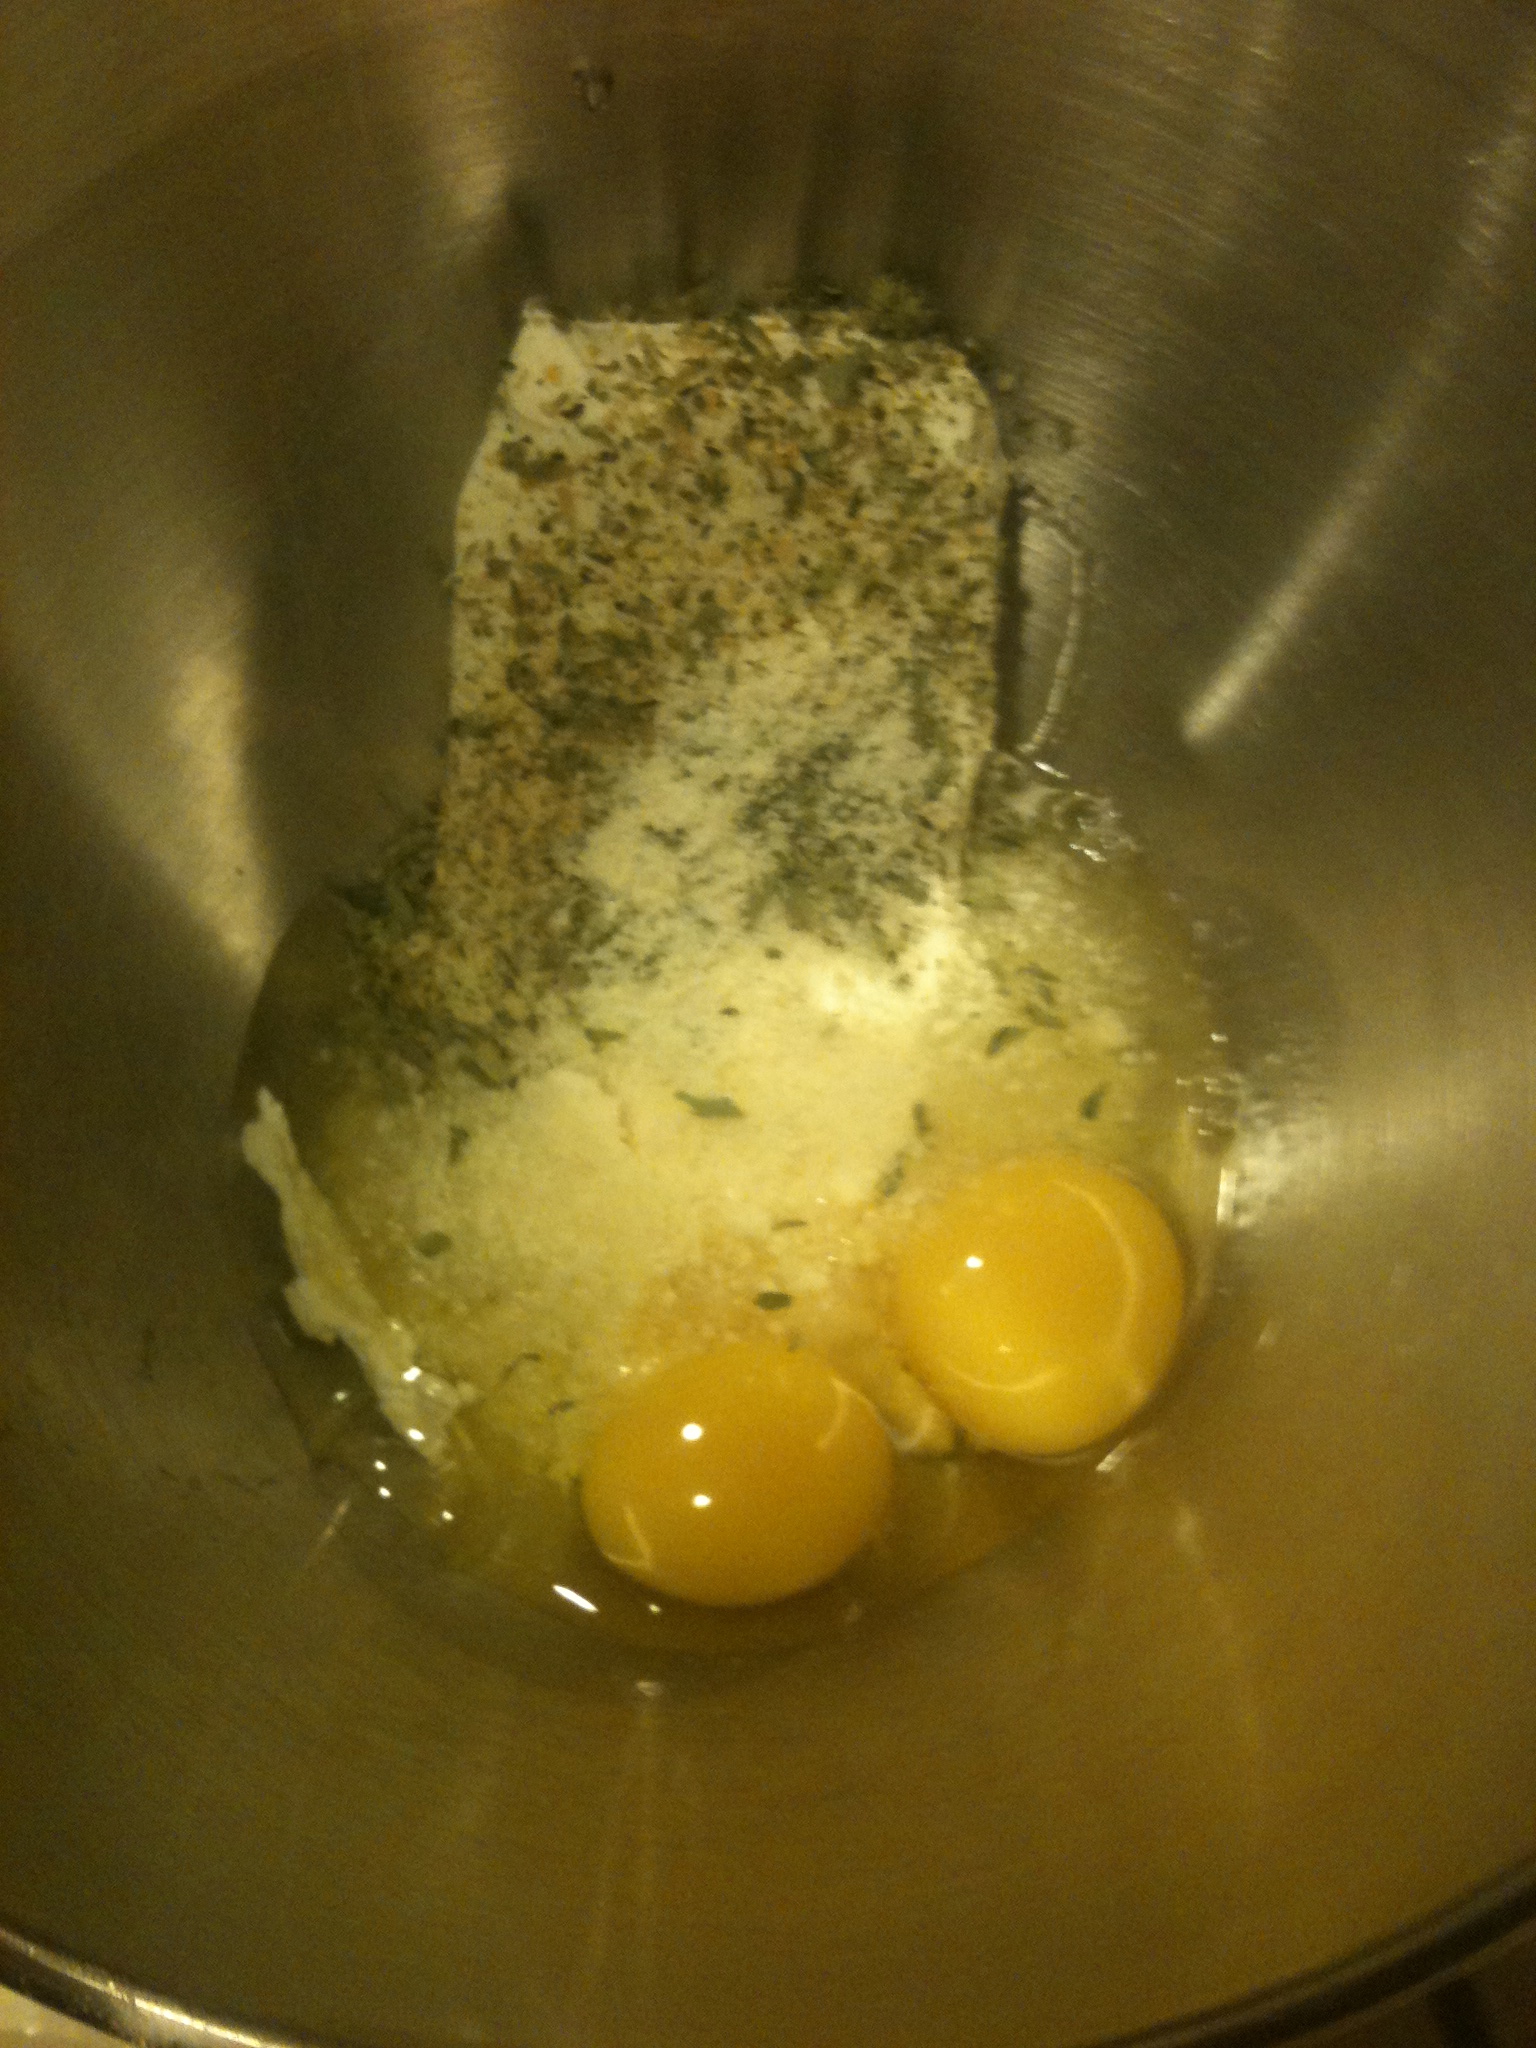
In a small bowl combine softened (not melted) Coconut Oil with Baking Soda into a paste, then add essential oils and mix throughly.

The recipe makes enough for 2 to 3 treatments

and can be used in the shower with great ease.

 IMG_4389

That’s It!

Now you have just made your own at home

Microdermabrasion treatment!

Now, How to Use your homemade Microdermabrasion treatment.

Whether you are in the shower or in front of your sink, you will want to use this treatment on a wet face, not dry.

First wet you face with warm water, use 1/3 to 1/2 of the mixture and begin to massage your entire face, throat, and décolleté with small, circular motions in the upwards direction.

You do not need to scrub the mixture, the baking soda will exfoliate for you without having to scrub.

I follow this treatment up with a homemade mixture of

coconut oil and frankincense oil.

This treatment is also great for rough elbows and dry hands and feet.

It truly is simply amazing!

Here is what Wikipedia says about Microdermabrasion:

“Microdermabrasion may be performed to help diminish the appearance of superficial hyperpigmentation, and photo-damage, as well as diminish fine lines, wrinkles, acne, and shallow acne scars. A further benefit of microdermabrasion is enhanced skin penetration by other skin creams and serums. Removing dead skin (startum corneum of the epidermis) will aid in the penetration of skin care products and medications by up to 10-50%. The controlled skin exfoliation afforded by microdermabrasion will afford make-up and self-tanning products to go on much more smoothly.”

Here is a little information on the benefits of using

Frankincense on our skin.

Ancient peoples quickly learned the value

of frankincense in skin care.

The Egyptians made rejuvenating face masks with it, and Ovid, the Roman poet, noted in his book on skin care (Medicamina Faciei) that frankincense was excellent for toilet purposes.

Frankincense continues to be an impressive skin care ingredient.

While often ignored in modern formularies, it is astringent, slightly anti-inflammatory, and has incredible ability to

rejuvenate skin and eradicate wrinkles.

Its antioxidant properties and cell regeneration abilities lead to smoother, more youthful skin.

It tones and lifts skin to increase firmness and minimize pores, which is why the Egyptians used it in facial masks.

Excellent for acne care because of its antiseptic properties.

One of the more impressive benefits of Frankincense in skin care is its ability to prevent and fade scars.

It has been reported to reduce the appearance of discoloration and redness due to blemishes, irritation, and even stretch marks. 

Here is a little info on why I ONLY use Young Living Essential Oils.

When I was new to essential oils, something that I learned really quickly was that there is a BIG(really important) difference between the types of Essential Oils.

For all I knew, oils were oils, and even though I knew about lavender scented products in the grocery store – I had no idea about the possibilities of transforming my health, naturally, with Essential Oils.

Let me explain, all Young Living Essentials Oils are

Therapeutic grade and Earth Kosher-Certified.

That means care has been given to every single drop, to ensure that the medicinal properties have been retained.

There are 4 Grades of Essential Oils:

Grade A oils are pure therapeutic quality and are usually made from organically grown plants distilled at the proper temperatures using steam distillation.

Grade B oils are food grade; they may contain synthetics, pesticides, fertilizers, extenders, or carrier oils.

Grade C oils are perfume grade and may contain the same type of adulterating chemicals as food grade oils.

They usually contain solvents which are used to gain a higher yield of oil per harvest. Solvents are normally cancerous.

Floral Water is a byproduct of the distillation process, a very high quality if it comes from a Grade A distillation process.

Accordingly it is of low quality if it comes from poor quality raw materials and or poor distillation processes.

It is usually found in skin and hair products.

A WORD ABOUT PURITY

Don’t be fooled!

Young Living’s oils are therapeutic and medicinal.

They are derived directly from the plant – not in a laboratory – and they are never extended or adulterated with chemicals.

Don’t think that you can buy less expensive

essential oils and get the same results.

ADULTERATED OILS AND THEIR DANGERS

Today much of the lavender oil sold in America is the hybrid called lavandin, which is cut with chemicals to improve the fragrance.

Then solvents are added and it is sold in the

United States as lavender oil.

Most consumers don’t know the difference, and are happy to buy it for $3 to $10 per half ounce in health food stores, beauty salons, grocery and department stores, and through mail order.

Some people wonder why they do not get the benefit they expected and conclude that essential oils do not have much value. Most likely, they purchased either a synthetic or adulterated oils.

Adulterated and mislabeled essential oils present

dangers for consumers.

One woman who had heard of the ability of lavender oil to heal burns used “lavender oil” purchased from a local health food store when she spilled boiling water on her arm.

But the pain intensified and the burn worsened, so she later complained that lavender oil was worthless for healing burns.

When her “lavender” oil was analyzed, it was found to be lavandin, the hybrid lavender that is chemically very different.

Adulterated oils that are cut with synthetic extenders can cause rashes, burning, and skin irritations.

Solvents can all cause allergic reactions,

besides being devoid of any therapeutic effects.

Even so-called “nature identical” essential oils (structured essential oils that have been chemically duplicated using

5 to 15 of the essential oil’s primary chemical compounds in synthetic form) can produce unwanted side effects or toxicities.

Isolated compounds may be toxic;

however pure essential oils, in most cases, are not.

This is because natural essential oils contain hundreds of different compounds, some of which balance

and counteract each other’s effects.

 Quality does matter — and your health is worth it.

If you would like more information about Young Living Oils please feel free to contact me by leaving a comment on this blog or on Facebook.

Young Living’s Essential Oils can be purchased through my website https://www.youngliving.org/jmccabe72

Peace, Love, and Hugs,

IMG_3413

I’m available to speak with you about your Young Living products, and to answer questions that you may have.

Julia McCabe
Herald, CA
916-622-9015
Email Me

Disclaimer Notice:

The information contained in this announcement is intended for educational purposes only and is not meant to substitute for medical care or to prescribe treatment for any specific health condition

Note: Young Living’s product availability and pricing varies by country. Please contact your Young Living wellness consultant for product availability and pricing if you have any questions.

Purification To The Rescue!

About 2pm Thursday afternoon I was stung

on my upper eyelid, just below my eyebrow.

Within a minute I was able to apply 2 drops of

Purification Essential Oil by Young Living.

Once the oil was applied the pain started to decrease.

Within 6 hours of the the wasp sting the pain

and most of the swelling was gone.

I reapplied 2 more drops of Purification before bed Thursday night

and upon waking Friday morning all the signs of the wasp sting were completely gone.

Living on a farm this essential oil is a MUST HAVE for me!

400547_10151947409206982_647607880_n

Purification essential oil blend contains citronella, lemongrass,lavandin, rosemary, melaleuca, and myrtle essential oils that help cleanse and disinfect the air.

The cleansing effect of Purification has also been found helpful for neutralizing mildew, cigarette smoke, and other undesirable odors.

Purification is an excellent deterrent to bugs and is commonly used to soothe bites from various insects such as spiders, bees, hornets, wasps, and mosquitoes.

Primary Benefits

 Purifies and freshens your surroundings

Deodorizes and neutralizes the air

Soothes insect bites, cuts, and scrapes

Deters insects

Who Should Use Purification Essential Oil Blend?

Anyone who is looking to purify their surroundings.

Anyone who lives near or is constantly around biting insects.

 Anyone who often finds themselves in stressful situations or is easily stressed.

Purification contains citronella essential oil, which is commonly used as an insect repellent.

Adding a couple of drops of Purification to your washing machine helps keep your laundry fresh.

Lemongrass has a light, citrus scent that inspires and improves mental clarity.

I am so thankful for being able to have something like Purification available to use in times like this.

If you would like to know more about how essential oils work or if you would like to find out information on other oils please let me know.

This statement has not been evaluated by the Food and Drug Administration.

This product is not intended to diagnose, treat, cure or prevent disease.

Lavender Does It Again!

Young Living’s Lavender Essential Oil Never Fails!

Every time I use lavender oil, I am always amazed!

Two days ago I burned my hand badly on a very hot stoneware pan that I had just taken out of the oven.

I did not notice it right away, but about 10 minutes later I did and I put 2 drops ofLavender oil on it.

As soon as the lavender oil was on the burn the pain was gone.

I applied lavender oil on it again before I went to bed and when I woke up the next morning, the mark from the burn was completely gone and it did not even look like my hand was every burned.

When people say a little goes a long way, they really mean it!

Lavender

Here is a little info on the amazing benefits of Lavender!

Soothe minor burns by applying 2–3 drops of lavender essential oil to the affected area.

Rub lavender essential oil on dry or chapped skin to moisturize the affected area.

Add a few drops of lavender essential oil to a cotton ball and place it in closets and drawers to scent linens and repel moths and insects.

You may be able to minimize the appearance of scar tissue by massaging lavender essential oil on or around affected areas.

Place a few drops of lavender essential oil on a wet cloth or dryer sheet to deodorize and freshen your laundry.

Diffuse lavender essential oil to minimize seasonal discomforts.

Rub a few drops of lavender essential oil onto your hand and spread over your child’s pillow to help him/her sleep.

Diffuse lavender essential oil to set the mood for a baby shower or social gathering.

Diffuse or inhale lavender essential oil to calm your mind, body, and spirit after a hard day’s work.

Here is a little info on why I ONLY use Young Living Essential Oils.

When I was new to essential oils, something that I learned really quickly was that there is a BIG(really important) difference between the types of Essential Oils. For all I knew, oils were oils, and even though I knew about lavender scented products in the grocery store – I had no idea about the possibilities of transforming my health, naturally, with Essential Oils. Let me explain, all Young Living Essentials Oils are therapeutic grade and Earth Kosher-Certified. That means care has been given to every single drop, to ensure that the medicinal properties have been retained.

There are 4 Grades of Essential Oils:


Grade A oils are pure therapeutic quality and are usually made from organically grown plants distilled at the proper temperatures using steam distillation.

Grade B oils are food grade; they may contain synthetics, pesticides, fertilizers, extenders, or carrier oils.

Grade C oils are perfume grade and may contain the same type of adulterating chemicals as food grade oils.

They usually contain solvents which are used to gain a higher yield of oil per harvest. Solvents are normally cancerous.

Floral Water is a byproduct of the distillation process, a very high quality if it comes from a Grade A distillation process.

Accordingly it is of low quality if it comes from poor quality raw materials and or poor distillation processes. It is usually found in skin and hair products.

A WORD ABOUT PURITY

Don’t be fooled!

Young Living’s oils are therapeutic and medicinal.

They are derived directly from the plant – not in a laboratory – and they are never extended or adulterated with chemicals.

Don’t think that you can purchase less expensive essential oils and get the same results.

ADULTERATED OILS AND THEIR DANGERS

Today much of the lavender oil sold in America is the hybrid called lavandin, which is cut with chemicals to improve the fragrance.

Then solvents are added and it is sold in the United States as lavender oil.

Most consumers don’t know the difference, and are happy to buy it for $3 to $10 per half ounce in health food stores, beauty salons, grocery and department stores, and through mail order.

Some people wonder why they do not get the benefit they expected and conclude that essential oils do not have much value. Most likely, they purchased either a synthetic or adulterated oils. Adulterated and mislabeled essential oils present dangers for consumers. One woman who had heard of the ability of lavender oil to heal burns used “lavender oil” purchased from a local health food store when she spilled boiling water on her arm. But the pain intensified and the burn worsened, so she later complained that lavender oil was worthless for healing burns.When her “lavender” oil was analyzed, it was found to be lavandin, the hybrid lavender that is chemically very different.

Adulterated oils that are cut with synthetic extenders can cause rashes, burning, and skin irritations. Solvents can all cause allergic reactions, besides being devoid of any therapeutic effects. Even so-called “nature identical” essential oils (structured essential oils that have been chemically duplicated using 5 to 15 of the essential oil’s primary chemical compounds in synthetic form) can produce unwanted side effects or toxicities. Isolated compounds may be toxic; however pure essential oils, in most cases, are not. This is because natural essential oils contain hundreds of different compounds, some of which balance and counteract each other’s effects.

 Quality does matter — and your health is worth it.

I’m available to speak with you about your Young Living products, and to answer questions that you may have.

To your health,

Julia McCabe
Herald, CA
916-622-9015
Email Me
Become a Member or Place an Order

Note: Young Living’s product availability and pricing varies by country. Please contact your Young Living wellness consultant for product availability and pricing if you have any questions.

“In our every deliberation, we must consider the impact of our decisions on the next seven generations.” From The Great Law Of The Iroquois Confederacy

Disclaimer Notice:

The information contained in this announcement is intended for educational purposes only and is not meant to substitute for medical care or to prescribe treatment for any specific health condition

Firefighter Approved Gluten Free Pizza!

IMG_4270
Not Only Is This Pizza Gluten Free, & Low Carb!!!!
But, It Is Also Diabetic Friendly
&
Approved By The House Firefighter!!!!!!

For when you absolutely want pizza but not all the carbs!!!!!!!

Crust
1 (8 oz) package of full fat cream cheese, room temperature
2 eggs
1/4 tsp ground black pepper
1 tsp garlic
1/4 to 1/2 cup grated parmesan cheese
(depending on the size of your eggs)
IMG_4254IMG_4256IMG_4259IMG_4262
Topping
1/2 cup pizza sauce
1 1/2 cups shredded mozzarella cheese
1/2 cup of grated parmesan cheese
toppings – pepperoni, salami, spinach,
olives, artichoke hearts, bell pepper, & more
Garlic
Pepper
IMG_4263
IMG_4265IMG_4266IMG_4267IMG_4268

Preheat oven to 350.
Lightly spay a 9×13 baking dish with cooking spray.
In mixer, mix cream cheese, eggs, pepper, garlic powder
and parmesan cheese until combined.
Spread into baking dish.
Bake for 12-15 minutes, or until golden brown.
Allow crust to cool for 10 minutes.Spread pizza sauce on crust.
Top with cheese, toppings, & more cheese.
Sprinkle pizza with garlic & pepper.
Bake 10 to 12 minutes, until cheese is melted.
IMG_4272
Please let us know what you think!
Peace, Love, & Hugs,
IMG_3413

Homemade Protein Cookies!!!!

923249_4899290329135_1011755796_n

Recipe Update!!!

Our Protein bars were so yummy that I decided to try them as cookies this time around.

Just as I thought, they were amazing!

I changed the amount of protein in the cookies by adding 1 more scoop and giving each cookie more protein.

I also added 1/2 cup of Chia Seeds, which also added protein! 🙂

Banana Chocolate Oatmeal Raisin Protein COOKIES!

3 super ripe bananas
1 1/2 cup oatmeal
3 scoops of chocolate protein powder
1/2 cup of raisins
1/2 cup of chia seeds
Drizzle of honey
Dash of salt
2-3 dashes of cinnamon
1tsp of coconut oil for greasing the pan
Mash bananas in bowl
Add oatmeal, protein powder, raisins, chia seeds, honey, salt, cinnamon, and mix until well combined
Grease baking pan with coconut oil
Spoon dough on to greased baking pan
Bake for 18 to 20 minutes @ 350 degrees
Allow to cool for 5 minutes
Made 24 nice size cookies
969584_4899121164906_1596418110_n
Note: these can be made into bars for easier prep, however, baking time will need to be adjusted
Please let me know if you try these and how you like them!
Peace, Love, & Hugs!
IMG_3413

Banana’s & Chocolate Oh My!

IMG_4082
It is that time of week again when I am looking for things to make for the week.
Today was no different than any other Sunday and I cruised  Pinterest and food blogs looking for something new and fun to make.
I came across a blog post for cookies that looked super simple and super yummy.
Well, me being me and a recipe tweakier, I had to tweak the recipe!!!! 😉
So what started out with bananas and oatmeal on one blog, has now turned into a super yummy protein packed treat!
IMG_4080
Banana chocolate oatmeal raisin protein bars

3 super ripe bananas
1 1/2 cup oatmeal
2 scoops of chocolate protein powder
1/2 cup of raisins
Drizzle of honey
Dash of salt
2-3 dashes of cinnamon
1tsp of coconut oil for greasing the pan
Mash bananas in bowl
Add oatmeal, protein powder, raisins, honey, salt, cinnamon, and mix until well combined
Grease baking pan with coconut oil
Spread mixture on greased baking pan and bake for 20 to 25 minutes @ 350 degrees
Allow to cool for 5 minutes and cut into bars
Note: these can be made into cookies for easier serving, however, baking time will need to be adjusted
Please let me know if you try these and how you like them!
IMG_4081
Hugs, Peace, and Love!
 IMG_3413

Not Your Typical Egg McMuffin!

Egg McMuffin

Most mornings I am scrambling around trying to get ready and out the door for school or work in what seems like seconds! I rarely have time during the week for breakfast, let alone something that is healthy and not loaded with sugar. A couple of years ago I went to a home party and one of the dishes that was made was egg muffins to show how the well the pan they were cooked in worked. Well, I was not sold on the product, but I was sold on the recipe! Since learning how to make the muffins I have adapted the recipe to fit my taste and what I have on hand.

Since Sunday’s are normally my catch up day around the farm house I decided that I would help myself out this week and make a batch of these super easy and super yummy egg muffins. Not having a lot of time these days with school, work, the farm, and life, it is always helpful when I can grab something quick and pop it in the micro to eat on the go. Two of these little beauties in the micro for 45 to 60 seconds and you are good to go! Not only are they easy and quick, but they are good for you too! Packed with protein and veggies, you cannot go wrong with them.

IMG_3998


One of the greatest things about these muffins is that you can put just about anything in them. These can be made with or without cheese, depending on your diet. Some days I use bacon, ham, spinach, artichokes, and cheese. And other days I use sausage, spinach, and cheese. This time I had a little bit of already cooked bacon so I added to the sausage and spinach as the sausage and spinach were cooking. Other nice thing about these muffins is how easy they are to make! Depending on what I have going on and what I am putting in the muffins I do not always cook the filling. However, when I am using sausage I always cook the meats and veggies before filling the muffin cups.

IMG_4003

I use my pampered chef stoneware muffin pan that I have had for years and years! I always spray the pan with olive oil in my pc spritzer. I was once a pampered chef rep, so I have LOTS of pc products and I highly recommend pampered chef products to  my friends and family. 🙂 Ok, back to the recipe! 😉

IMG_4005

The Goods

1 pound of breakfast sausage

5 to 6 strips of bacon

1 bag or frozen or fresh spinach (cook with meat if using fresh)

Garlic, salt, and pepper to taste

6 to 8 eggs (depending on the size of your pan, I use 8 eggs) ( Farm Fresh if possible)

1 to 2 dollops of sour cream (tbsp, I like the sound of dollop better 😉 ) (omit if paleo)

1/2 cup of shredded cheese (omit if paleo)

IMG_4006

The How To

Heat Oven to 350 degrees

Brown the sausage until fully cooked, add bacon and spinach, cook until water from spinach is gone. Spray pan with olive oil or other non-stick spray (I do not use Pam due to the chemicals in the can). Fill each muffin cup with equal parts of meat and veggie mixture and top with equal amounts of shredded cheese. Beat eggs with sour cream and add equal amounts to each muffin cup. Place pan in the oven and bake for 15 to 20 minutes until done. Remove from oven and allow to cool to 5 to 10 minutes before removing from pan. Eat and Enjoy! 🙂

IMG_4010

Note: I always check around 10 minutes and turn the pan around due to my oven not cooking evenly.

Note to self-Get New Oven! 😉

IMG_4012

If you have any questions on these muffins or if you have any feedback please let me know via Facebook. I would love to know how you liked them and what you put in them!

Peace, Love, and Hugs,

IMG_3413

Cauliflower? Pizza? Say It Ain’t So!

IMG_3866

If you are like me you LOVE Pizza, but you know it is not a food that we can have nearly as much as we want. As a person with gluten issues it is very hard for me to say YES or NO when I am asked if I want Pizza for dinner. I always struggle with my answer when this question comes up. Do I want to see the scale up 2 or 3 pounds and ache all over the next morning and say Yes or do I want to do what is best for my body and say No? Over the years of living with a PIZZA HOUND, I have had to say No to pizza multiple times since he would eat pizza everyday if I let him. 😉 So, due to his LOVE for pizza and my body’s HATE for gluten, we have triple umpteen different recipes and gluten free crusts trying to find “THE ONE!” 

IMG_3861

Being the Internet Junkie that I am, I have seen what seems like a bazillion different recipes using Cauliflower as the base of the crust. Not being a cauliflower fan AT ALL, I have never tried to bring myself to try it. However, after seeing my friend Jenny Holiday make it and post her recipe, I knew that I had to try it! Just the pictures of her pizza made me drool! HaHa Every recipe that Jenny posts on her blog looks amazing and I want to try them ALL! 🙂

Check out Jenny’s blog for more amazing recipes! http://everyday-is-a-holiday.blogspot.com/2013/03/cauliflower-pizza-crust-with-basil.html

Oh, and take a look at her even More Amazing Art! If you have a little time read about Hurricane Sandy and how it devastated Jenny’s hometown. 😦 One of these days I am going to make my way to New Jersey for a visit!!!  But, until I do, I can look at my painting of the ferris wheel in New Jersey that Jenny painted! 🙂  

 IMG_3841

Jenny’s recipe makes 4 individual pizzas using 2 cups of cauliflower and is vegetarian! I plan to make our next ones with the toppings that Jenny used very soon! I ended up having 3 cups of cauliflower once I had mine chopped up so I added extra cheese and egg, but I do not think I needed the extra egg and it would have been ok with just 2 eggs. With the extra cauliflower, cheese, and egg, I was able to make 8 individual pizzas. We had lots of yumminess for lunch and dinner the next day! 🙂 I am going to make these again and freeze them for quick dinners and lunches. 

The next time you are thinking about having pizza and you are thinking about how it is not the best item for your diet, try cauliflower pizza!!!! And don’t forget to let me know how you liked them! 🙂 

Here is Jenny’s recipe:

Makes 4 individual pizzas

The Cauliflower Crust:

2 eggs

2 cups shredded low fat mozzarella cheese

1 tablespoon grated parmesan cheese

2 cups grated cauliflower

1 tablespoon minced garlic

1/4 cup fresh chopped basil

salt & pepper to taste

1 teaspoon onion powder

Basil Ricotta:

1 cup low fat ricotta 

2 tablespoons fresh chopped basil

salt and pepper to taste

1/2 teaspoon garlic powder

*Simple Tomato Sauce:

1 cup chopped tomatoes ( I use Pomi brand and LOVE it)

2 teaspoons olive oil

2 teaspoons minced garlic

dash of balsamic vinegar

1/2 teaspoon crushed red pepper flakes

1/2 teaspoon Italian herbs

dash of salt & pepper

dash of sugar (optional)

Additional Toppings:

 half of a large zucchini thinly sliced

 half of an onion thinly sliced

fresh chopped basil

…..or whatever toppings you like! 

Preheat oven to 450 degrees.

Line a cookie sheet with parchment paper, spray with non-stick spray.

To make the crust:

Grate cauliflower into a big bowl ( I used my food processor) 

Combine cheese, eggs, spices, and now mix together (hands work best for this step)

Divide into 4 equal amounts and press evenly onto a lined cookie sheet ( I used silpats)  

Bake for 15 to 20 minutes depending on your oven, check after 10 to 12 minutes (mine took longer since I did 8 at one time) (I also flipped the crusts very carefully to crisp on both sides)

While the crust is baking make the ricotta cheese mixture and tomato sauce. 

IMG_3845 IMG_3846 IMG_3847 IMG_3848

To make the ricotta cheese:

Combine ricotta cheese with spices and mix well (super easy!) 

 IMG_3855 IMG_3856

To make the tomato sauce: 

In a small sauce pan add olive oil and garlic, cook for one minute, add crushed red pepper flakes, tomatoes, herbs, balsamic vinegar. Stir until combined. Now add salt, pepper and optional sugar. Remove from heat and let cool for a bit. ( I did not cook my sauce and it was still wonderful)

 IMG_3853

Now here is the super fun part! Top your little bundles of veggie yumminess! You can use any toppings that you like! 

We sautéed spinach, artichoke hearts, salami and pepperoni. Added sliced olives and a little extra cheese on top. Viola!  Super Yummy Supper! 🙂 

IMG_3850 IMG_3859 IMG_3860

Just think of the veggies you can get in your kids without them knowing!!!! 😉

Peace, Love, and Hugs!

IMG_3413

Salsa Anyone?

Salsa!

Do you ever wonder how to get that “Restaurant” taste at home with your salsa? Being the avid “Do-it-yourself” types, we are always telling each other that we can make this or that. Over the years we have been able to Perfect our Salsa recipe. We each had our own when met, but we have now taken the best of both recipes and made one! After a quick poll the other day on Instagram, I decided that our salsa recipe would be the recipe of the week for our blog. BTW- If you are on Instagram, follow us @greenacresest2011 for lots of fun pictures of our farm and our lives!

As I stated, we took both of our recipes and made one that we now use. I will share all three for you to decide which one you like. I like mine to be a little on the hotter side, but Tharon likes his with just a little less heat, but still a good amount. All three recipes can be tweaked to your liking for the heat index! I even tweak it a little from time to time depending on the season and if we have fresh veggies in the garden. 😉 Grab your favorite bag of chips and Dive in! 🙂

Roasted Veggies

Tharon and Julia’s Salsa

2 cans of mexican stewed tomatoes (I use the S&W ones, I think they have better flavor)

1 can of el pato (mexican tomato sauce- yellow can) – this has some heat

1 can of ro-tel (I use the mexican -lime & cilantro one) – this has some heat

2 jalapenos (roasted)

1 white onion (roasted)

1  poblano pepper (roasted)

1 bunch of cilantro

3-4 green onions

garlic salt to taste

roast the peppers until black, cut stem off leaving the seeds inside. roast the onion until blackened.  blend everything but the green onions in the blender until desired thickness.

Tharon’s Salsa

2 cans of mexican stewed tomatoes (I use the S&W ones, I think they have better flavor)

2 jalapenos (roasted)

1 white onion (roasted)

1  poblano pepper (roasted)

1 bunch of cilantro

roast the peppers until black, cut stem off leaving the seeds inside. roast the onion until blackened. blend everything together

Julia’s Salsa

6 jalapenos

2 tomatoes

½ white onion

1 bunch of green onions

1 bunch of cilantro

2 cans of el pato (Mexican tomato sauce in a small yellow can with a duck on it)

1-2 cans of water (rinse out the remaining sauce)

Dash of garlic salt

I blend the Jalapenos, cilantro and part of the onion and tomato and chop the rest. It depends on taste, I like mine more blended but it is really good chunky also.

Salsa 2

Peace, Love, & Hugs!

IMG_3413

Jackpot Casserole


IMG_3770

Do you have those nights when you cannot think of what to make for dinner, but you want something that is super yummy and super easy? More often than not, we have those types of night here at Green Acres! Since we are too busy to plan most meals ahead of time we are always having the “What’s for dinner?” conversation at some point during the day. Since casseroles are usually fairly easy to put together and make gobs, we have our “go to” favorite! Which also happens to be a family favorite! 🙂 The number 1 thing I like the most about this recipe is that I normally have most, if not all of the items needed in the kitchen. 🙂 I do tend to keep my cupboards a little overstocked, but that is not normally a bad thing. 🙂

Jackpot casserole is very simple to put together and fairly quick to get in the oven. Since I have been making it for YEARS, I normally can get it in the oven in about 15 minutes and then on the table in less than an hour from start to finish.

 IMG_3762

So without further prolonging this post here is the how to part! 🙂

IMG_3763

In a skillet brown or oven proof pan ground beef, season to taste, add corn, soup, and water. Bring to a slight boil and add noodles. Stir and cook until noodles are slightly tender. Add 2 cups of cheese, 3/4 of     the olives and stir until fully incorporated. If not using an oven proof pan, transfer into a casserole dish. Top with remaining cheese and olives and then place into a preheated oven. Bake at 350  until bubbly around edges and noodles are tender for 30 to 45 minutes, depending on the depth of pan. This make 6 to 8 servings depending on the size of the serving.

IMG_3766


Ground beef, lean, 16 oz

Garlic Salt, 1 tsp

Minced Onions, 1 tbsp

Black Pepper, 1 tsp

Yellow Corn, 1 can drained

Creamed Corn, 1 can

Campbell’s Tomato Soup, 2 cans

Water,  2 cans (rinse soups cans)

Egg Noodles, 1 12 oz bag

Cheddar or Colby Cheese, 3 cup, shredded, divided

Black Olives, 1 can, chopped, divided


Notes:


This recipe can be made completely gluten free by using gluten free rice or quinoa pasta and gluten free tomato soup.


Peace, Love, & Hugs,


IMG_3413